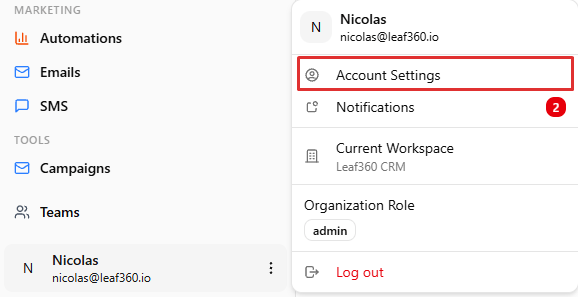
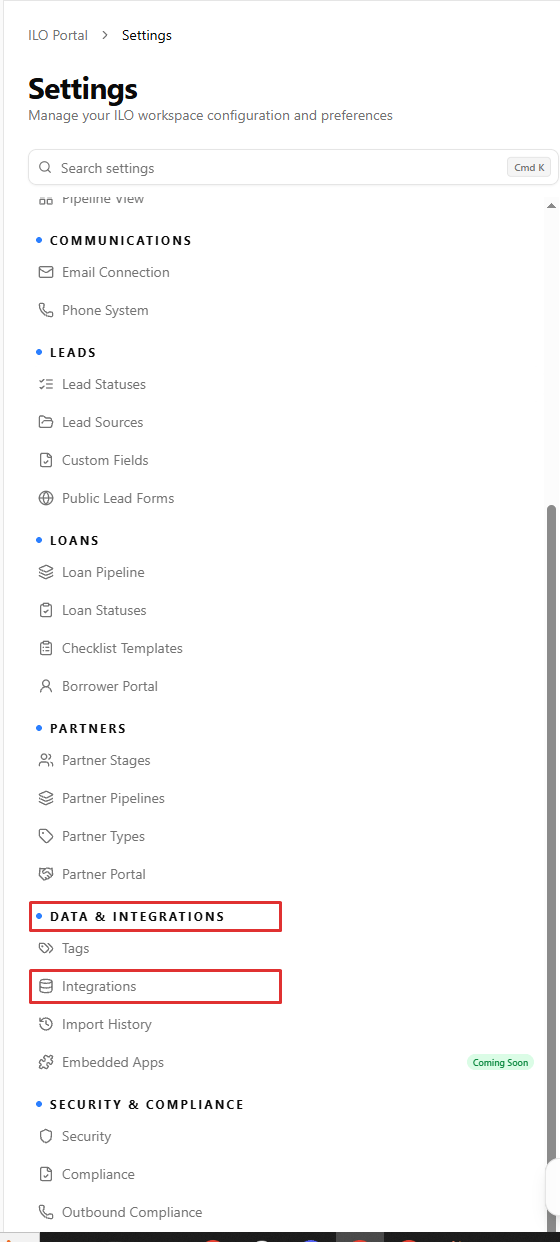
A step by step walkthrough, with screenshots, of connecting your Arive account to Leaf360 from Account Settings.
This walks you through connecting Arive to Leaf360, screen by screen, so your Arive loans start importing. If you’d rather watch it, the video covers the same ground.
For what data moves across once you’re connected, the status mapping tabs, and the rest of the reference, see Arive.
The Arive card opens on Integration Mode, with two choices: Direct API, which connects using your Arive API credentials, and Zapier, which connects through a webhook instead.If you don’t know which one you have, reach out to your company and ask before you pick. It isn’t a guess worth making, since the credentials you need differ between the two.
If you’re on Zapier and you see Connection Error on the right hand side, don’t be alarmed. That message is only telling you that you aren’t connected through the Direct API. Your Arive connection still works without it.
If Arive isn’t on the Integrations shelf, you’re on a company account. An administrator at your company has to follow these same steps and enable it for you.